
DevGPT
Code together, right now! GPT powered code assistant to build project in minutes
Links
README
From the repo.
Code Together
Formerly known as DevGPT, rebranded due to OpenAI policy changes.
⚠️ This is a prompt, not installable software. Code Together (formerly DevGPT) is a custom GPT / prompt-pack for coding assistance — there is nothing to
pip install, build, or run in this repository. Use it directly via the ChatGPT / OpenWebUI links below, or copy the prompt into your own LLM.
Latest Updates
- New ML-Focused Version: Discover our enhanced version for building machine learning projects and pipelines here.
- OpenWebUI Prompt: Access the OpenWebUI prompt here, compatible with models like Stable-Code-3B, Llama-3-8B, WizardLM2-7B, Mistral, GPT3.5, and GPT4o.
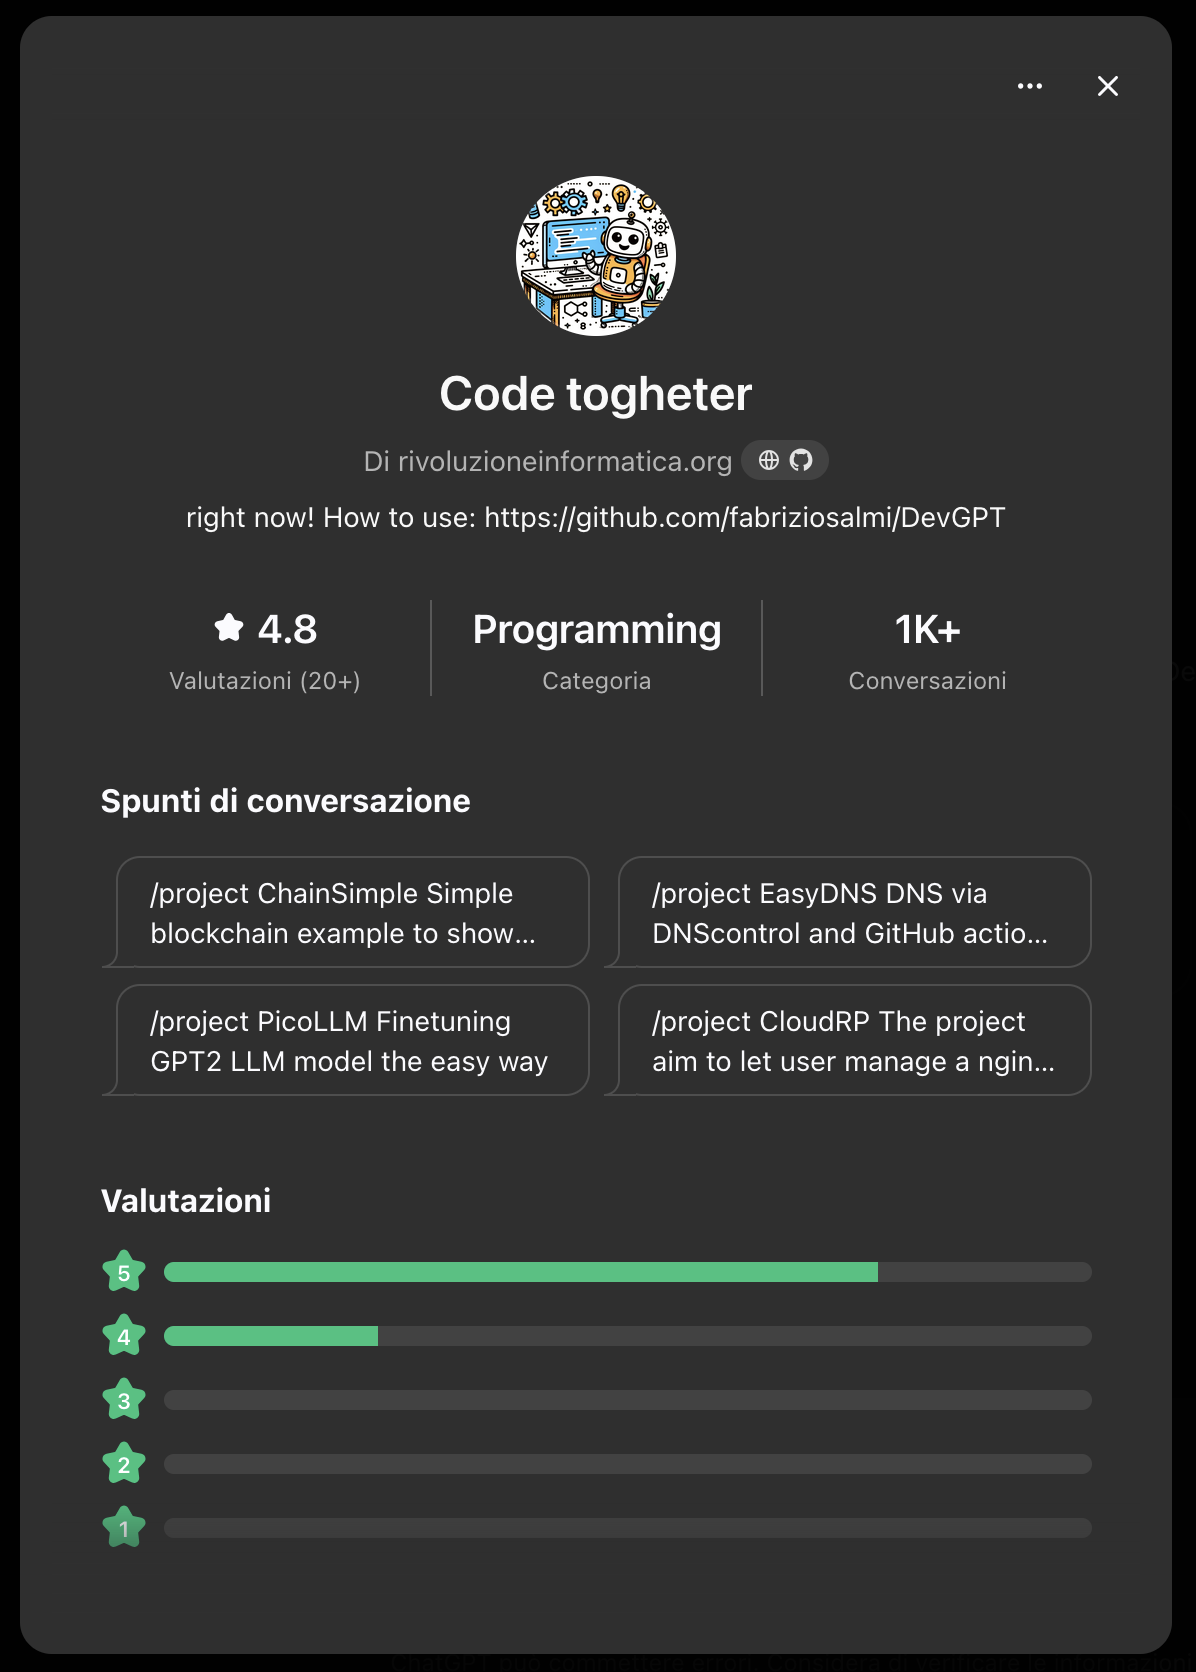
Try It Now
How to Use
Follow this guide to get started with Code Together:
- Initialize a Project: Use the
/projectcommand followed by the project name and description.
Example:/project MyApp "My application is a simple chatbot using the GPT2 Italian model" - Complete Your Files: Review the project structure and use
/complete filenameto generate the necessary files. - Finish and Refine: Use additional commands like
/improve,/logs,/debug, or/dimto enhance and finalize your project.
Additional Tips
- Improve a File: Type
/improvefollowed by the file content to enhance a specific file. - Add Logging: Use
/logsto insert logging and debugging snippets. - Resource Estimation: Estimate compute resources required with
/dim. - Generate a README: Create a project README with
/repo.
...and much more! Code Together is continuously evolving to meet all your development needs.
Full Command List
| Command | Description | Example Use |
|---|---|---|
/project | Initialize a new project with a name and description. | /project MyApp "My application is a simple chatbot" |
/list | List all needed files for the project in a Linux environment. | /list |
/setup | Propose main and requirements.txt files with full code. | /setup |
/env | List required imports, libraries, and environment setup steps (Linux only). | /env |
/dim | Calculate the minimum RAM and HDD space required to run the project. | /dim |
/split | Modularize a single code snippet or file into multiple files. | /split (after providing a large code block) |
/log | Add logging to the existing code. | /log (after selecting or providing code) |
/docs | Explain the functions and libraries used in the latest code snippet. | /docs (after providing code) |
/debug | Add debugging code to troubleshoot issues. | /debug (after selecting or providing code) |
/exec | Simulate running the code and display the output. | /exec (after setting up the required files and env.) |
/improve | Optimize and enhance the existing code. | /improve (after selecting or providing code) |
/complete | Generate a complete script for a specific file. | /complete my_file.py |
/order | Provide the order of file execution to test the project. | /order |
/adapt | Update all existing files to accommodate recent changes. | /adapt (after modifying one file) |
/use | Explain how to run, use, or test the project. | /use |
/repo | Generate a README.md file for GitHub with all necessary project information. | /repo |
/fix | Attempt to make the script work using an alternative approach. | /fix (when existing code doesn't work) |
/thanks | Encourage users to support the project by starring the GitHub repository. | /thanks |
Example Uses
Share your creations! I love to feature them in the "Wall of Fame" 😊
Starter Apps:
- Create a Simple Blockchain
- Manage DNS with DNSControl and GitHub Actions
- Fine-Tune GPT2 LLM Model
- ScamTracker: Pattern Matching in the Stock Market (PoC)
- HTML Bootstrap Skeleton for Beginners
- AI-Enhanced Real Estate Valuation (AIREV)
Built in Minutes with DevGPT:
Contributing
Contributions are welcome! Please read the contributing guidelines for more details on how to get involved.
License
This project is licensed under the GNU General Public License v3.0 (GPL-3.0) - see the LICENSE file for details.
Contact
For questions, issues, or feedback, please open an issue.
Collected info
- ★ 73 stars
- ⎇ 6 forks
- Source updated: 7/18/2026
Config for your environment
Replace {MCP_ENDPOINT_URL} with this MCP’s endpoint URL (from its repo or docs above). No API key — you connect directly.
Tool
OS
Config file: ~/.cursor/mcp.json
{
  "mcpServers": {
    "mcp-server": {
      "url": "{MCP_ENDPOINT_URL}"
    }
  }
}Paste into mcpServers in the config file. Restart Cursor after saving.
If this MCP is also published on mcpchannel.ai, you can subscribe from Browse and use the gateway config there instead.